
Illustrator Pucker + Bloat Tool
This distortion is an absolute god-send when creating shapes in Illustrator! The Plucker and Bloat tool lets you create beautiful florals and sharp stars within seconds!! It’s something you didn’t know you couldn’t live without!!
Here’s our step by step guide!
- Draw a circle or rectangle using the shape tool (you can mix this up with different shapes to experiment with the outcome!)
- Click ‘Effect’ – ‘Distort & Transform’ – ‘Plucker & Bloat’.
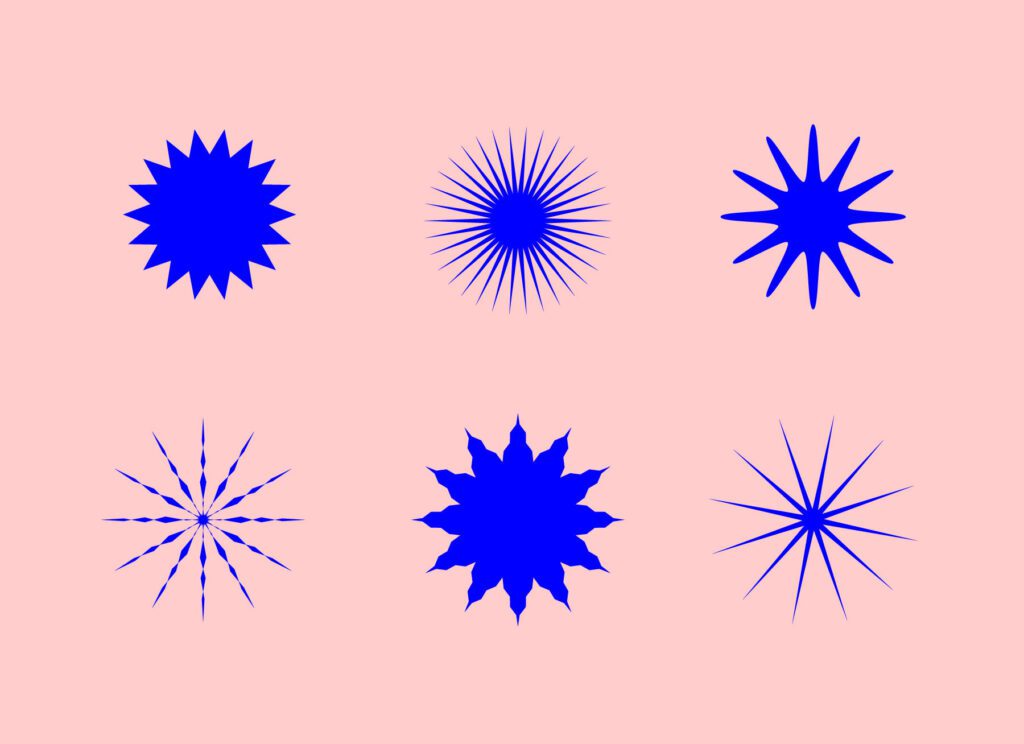
- For floral psychedelic forms toggle the slider right, for stars go left!!
Illustrator Zig-Zag Tool
This distortion tool lets you create all kinds of stars at the click of a button (or in this case.. mouse)! The zig-zag tool is especially effective when applying it to a shape twice (Yes you heard us.. TWICE!) Experiment with this and see what happens!
Here’s our step by step guide:
- Draw a circle using the shape tool (if you want to go extra, and we mean EXTRA, try using other shapes. The results can be quite crazy, but inspiring at the same time!
- Click ‘Effect’ – ‘Distort & Transform’ – ‘Zigzag’.
- Experiment with the sliders.
- We find for the best results (or more out there results) check the ‘relative’ box. There’s even a box you can check that enables smooth points (starfish central)!
These are just a few of the countless shapes you can make with this tool. Try using different shapes, applying multiple effects to the same shape and above all else, get experimenting!!